Getting Started
This page walks you through signing up, onboarding your business, and sending your first AI-powered reply.
Sign Up
- Head to the Pricing page and choose the plan that fits your volume — Starter, Growth, or Scale.
- Click Start Free Trial to enter the Stripe checkout page.
- Complete payment. You will not be charged during the 7-day trial period.
- Check your email for a setup link. It arrives within 60 seconds.
If you do not see the email, check your spam folder. The sender is noreply@javisai.com.
3-Step Onboarding Form
Click the setup link to open the onboarding wizard. Three short screens and you are done.
Step 1 — Your Account
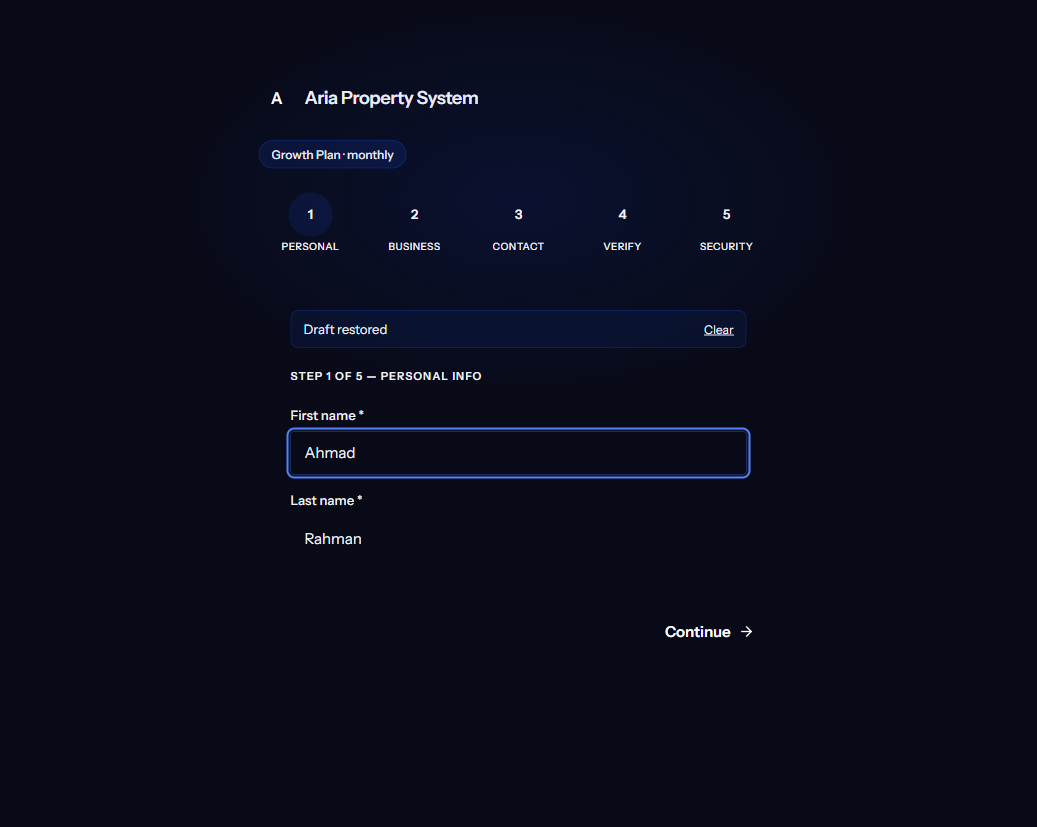
- Full name — how you want to appear on the dashboard
- Password — minimum 8 characters, at least one number
Step 2 — Your Business
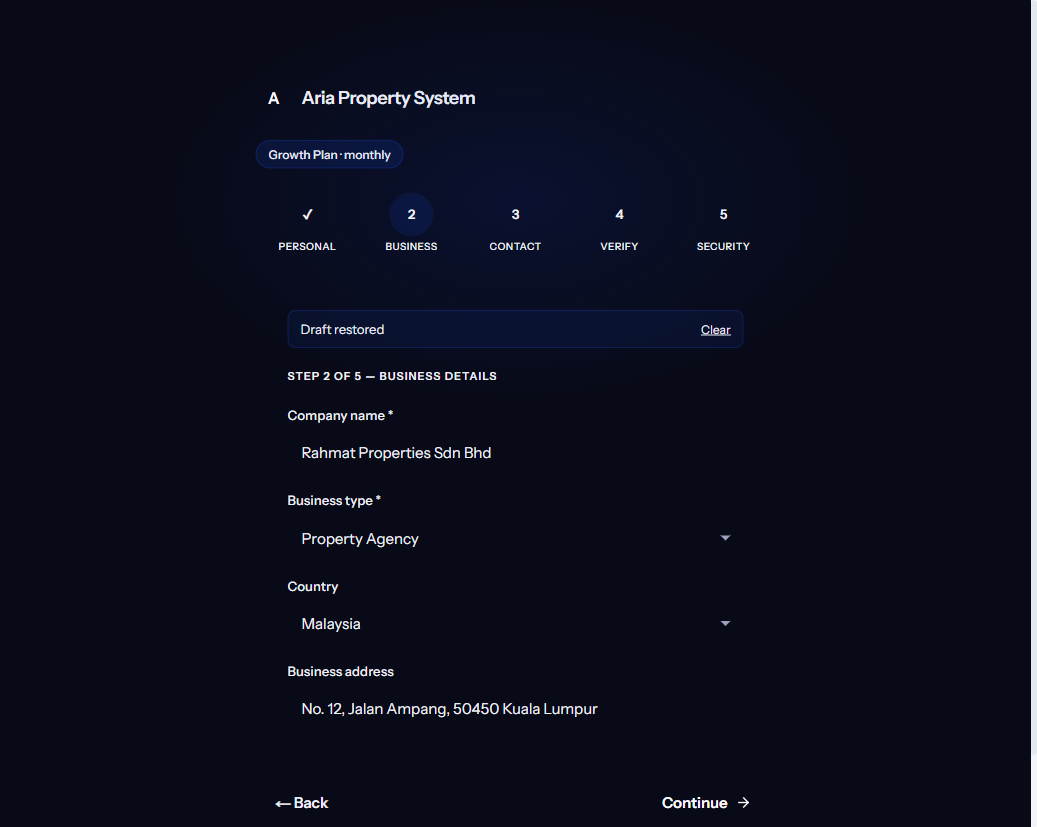
- Business name — displayed to customers in AI responses
- Segment — pick one of the 7 supported industries (Property, Automotive, Insurance, Education, Healthcare, F&B, Services)
- Country — defaults to Malaysia; other ASEAN countries are available
Step 3 — PDPA Consent
- Review the data processing summary
- Tick the checkbox to confirm you have read and agree to the PDPA compliance terms
- This consent covers how Aria stores and processes customer conversation data on your behalf
Click Complete Setup and you land on your dashboard.
What Happens in the Background
The moment you finish onboarding, Aria provisions several things automatically:
- AI Persona — a default sales assistant personality tuned to your chosen segment, with your business name and a professional tone
- Knowledge Base — an empty namespace ready for your document uploads
- Message Templates — greeting messages, follow-up nudges, and appointment confirmation templates pre-loaded for your segment
- Quota — your monthly message and document limits are activated based on your plan
You do not need to configure any of these manually to start — they work out of the box. You can fine-tune everything later from Settings.
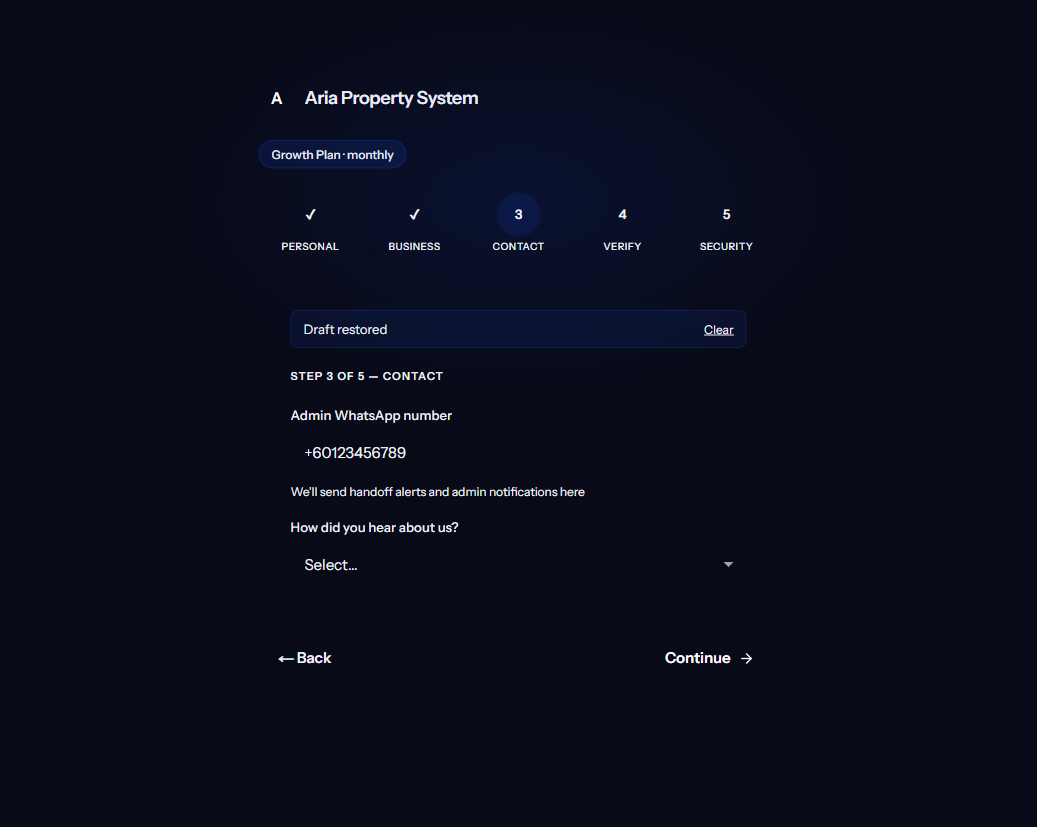
Connect WhatsApp
Your first task after onboarding is linking your WhatsApp Business number. Without it, Aria has no channel to talk to your customers on.
- From the dashboard sidebar, go to Settings → Channels.
- Click Start WhatsApp Session.
- A QR code appears on screen.
- Open WhatsApp Business on your phone and scan the QR code.
- The status changes to Connected.
For detailed instructions and troubleshooting, see the WhatsApp Setup page.
Use your WhatsApp Business app, not regular WhatsApp. Aria connects through the Business API and requires a Business-registered number.
Your First Conversation
Once WhatsApp is connected, send a test message to your linked number from a different phone. Within a few seconds, Aria replies using the default persona and segment knowledge.
If the reply looks good, you are live. If you want to refine it:
- Upload your brochures and price lists to the Knowledge Base so Aria has your specific information
- Adjust the greeting message, tone, and CTA on the AI Persona page
- Review incoming leads on the Dashboard
What to Do Next
| Task | Page |
|---|---|
| Upload your business documents | Knowledge Base |
| Customise Aria’s name and tone | AI Persona |
| Connect Google Calendar for bookings | Bookings |
| Understand your lead pipeline | Leads |